I will explain how to enable Audience Demographics Overview by Age & Gender, which will enable you to bifurcate your website traffic by age and gender.
As Google Analytics help explains:
Analytics now includes data on your users’ demographics (age, gender) and interests (affinity categories, other categories). You can analyze those data with two new categories of reports in the Audience section:
Demographics
- Overview (overview of traffic by age and gender)
- Age (traffic by age ranges)
- Gender (traffic by gender)
Interests
- Overview (overview of traffic by affinity and other categories)
- Affinity Categories (behavior by affinity categories)
- In-Market Categories (behaviour by in-market categories)
- Other Categories (behaviour by other interest categories)
These reports let you see the number of your users who visit over a date range, who those users are, and how their behaviour varies by attribute (e.g., male vs. female).
Here are steps that you have to follow to enable Demographics for your current Google Analytics Property
Assumptions: I assume that you have already created a property for your website domain & you want to allow Demographics Overview for the same
Step 01:
First, sign in to your Google Analytics Account
Step 02:
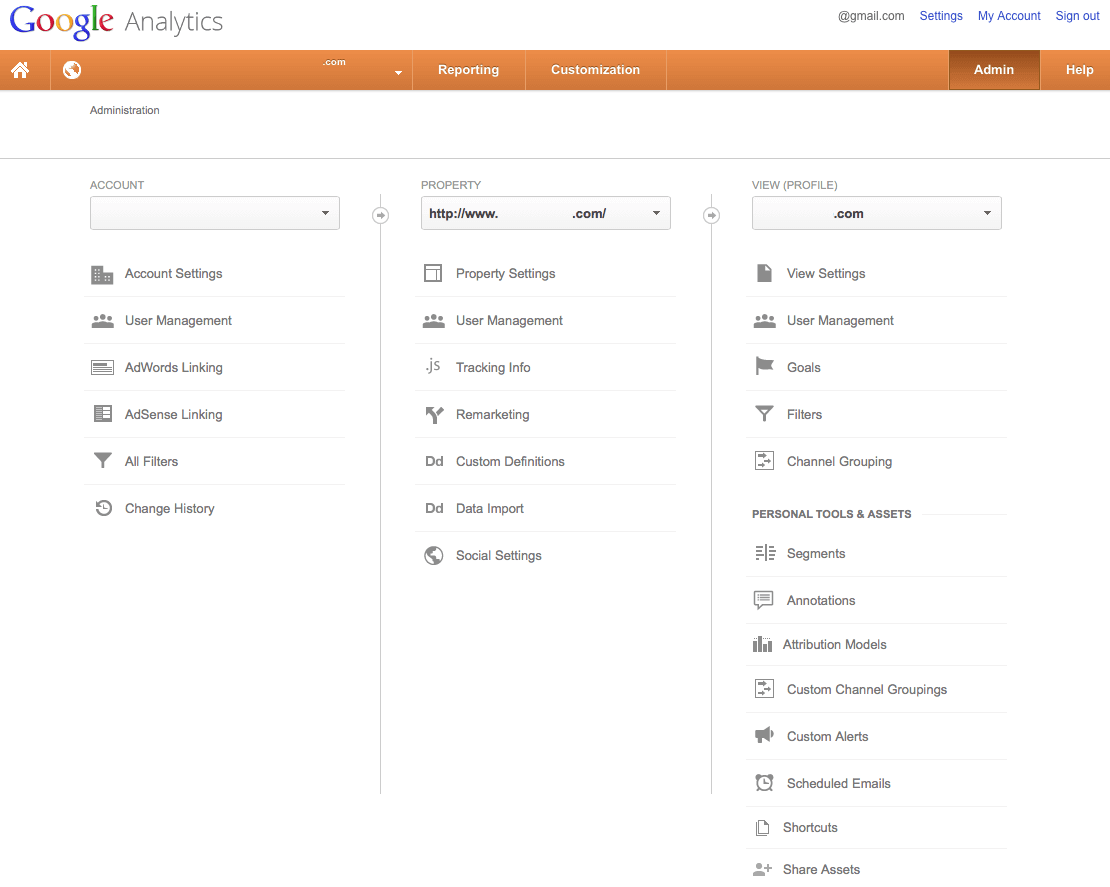
Click on the ‘Admin’ tab on the top right
Select your preferred account in the far left column if you have more than one account (Skip this step if you have only one account)
Step 03:
Navigate to the second column called Property,
Select your preferred Google Analytics Property, i.e. Your Preferred Domain
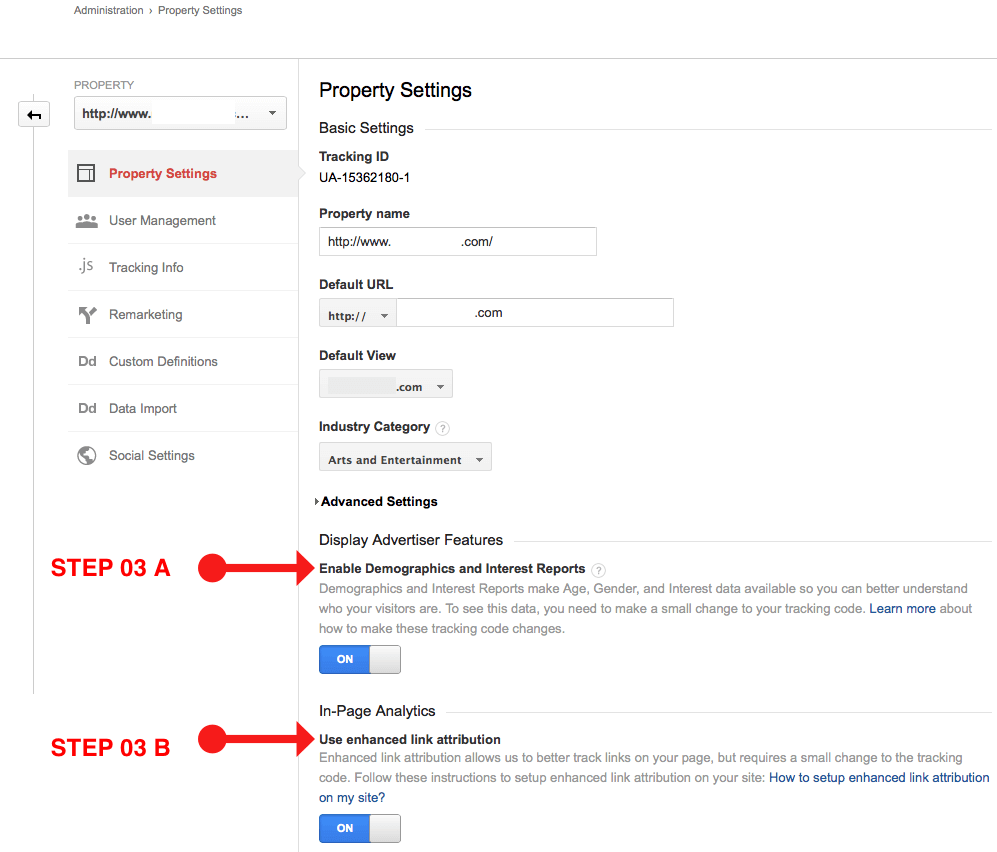
Step 03A:
Now click on ‘Property Settings.’
Under ‘Display Advertiser Features’, Click on tab/slider to enable, i.e. ON to ‘Enable Demographics and Interest Reports.’
Now Save Settings
Step 03B:
Under ‘In-Page Analytics’ on the same page, click on a tab or slider to enable it, i.e., ON ‘Use enhanced link attribution.’
Now Save Settings
Step 04:
Now, under the ‘Property’ section, click on ‘Tracking info’ and then click on the tab or slider to enable, i.e., ON ‘Display Advertiser Support.’
Now Save Settings
Step 05:
Now, implement the newly generated tracking code with our new settings from the Google Analytics website to your chosen and preferred domain website’s HTML or Dynamic PHP.
Congrats…!!! You are Done!
Note: Give analytics at least 24 hours to enable & activate Demographics support for your website.
Further Reading:
Thanks & Regards
Mandar Apte