Apple iPadOS is a mobile operating system created and developed by Apple Inc. for its iPad line of tablet computers. It is a rebranded variant of iOS, the operating system used by Apple’s iPhones, renamed to reflect the diverging features of the two product lines, particularly the iPad’s multitasking capabilities and support for keyboard use. It was introduced as iPadOS 13 in 2019, reflecting its status as the successor to iOS 12 for the iPad, at the company’s 2019 Worldwide Developers Conference.
After using your Apple Mac, iPhone or iPad for more than 2 to 3 years upgrading the operating system multiple times you may realise after upgrading system some features like iCloud, Mac / App Store App Downloads and Updates, Keychain Sync, Safari Passwords Sync, Contacts Sync are not working across devices.
Precautions:
1. If you are on iPhone and iPad first backup your device using Mac. And also backup your iPhone and iPad photos using Apple Photos.
2. If you are on Mac backup your Mac using TimeMachine
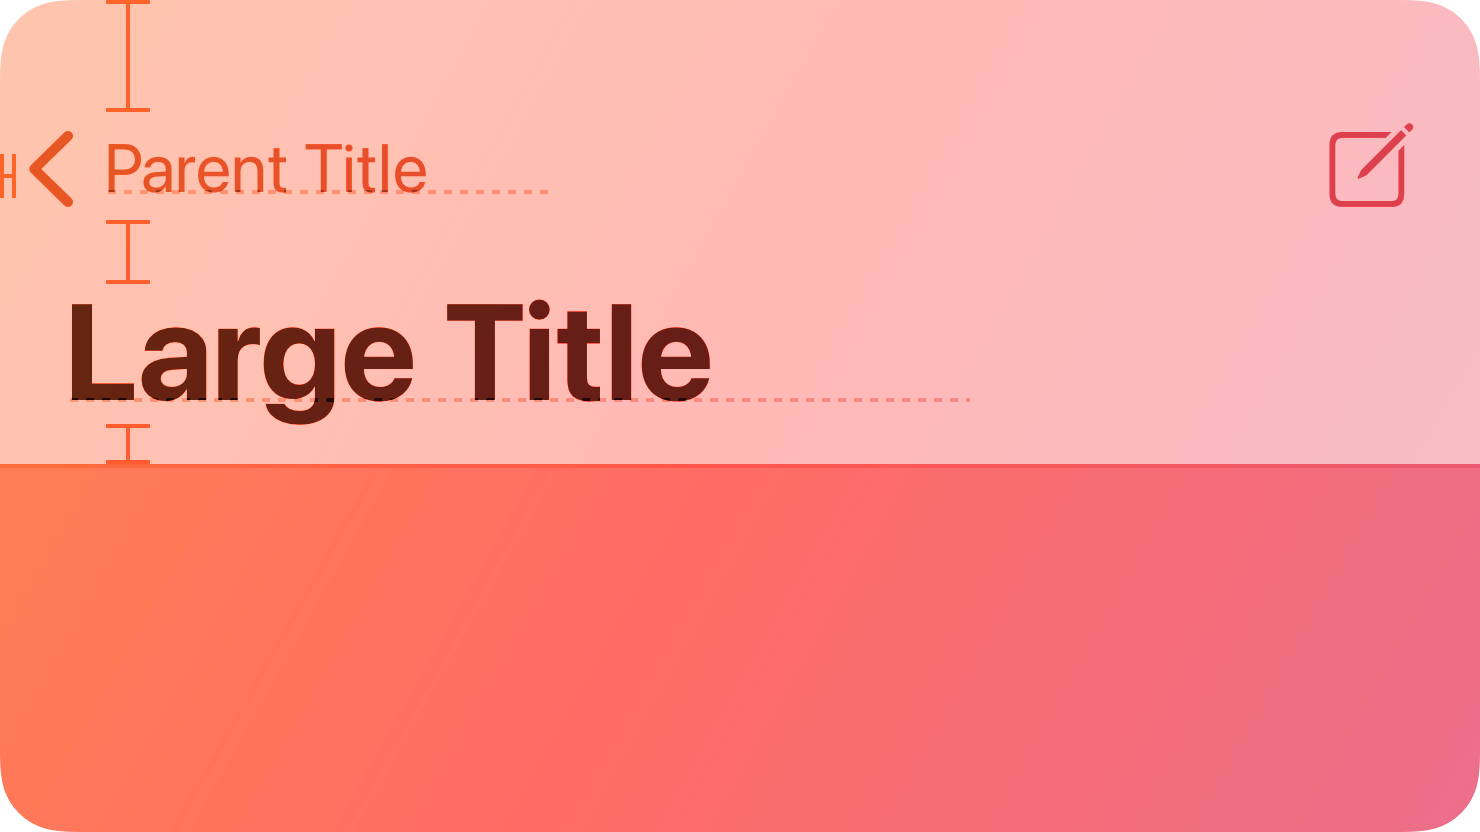
Sometimes, you want to hide the Navigation Bar from a particular view without manually deleting it from Main.storyboard,
So, I have documented how to do it programmatically instead.
Step 01: Copy the following code to your ViewController’s Swift file’s ‘viewWillAppear’ method for which view you want to hide the Navigation Bar on its load on your iPhone, iPad or Mac’s (Catalyst) app screen.
When Google released the Material Design Guidelines, they introduced many new design elements, including the Fabeingutton, a Floating Action Button.
Normally, we see the Fab button in Android Mobile Apps, but many Apple iPhone, iPad, and Mac App Developers have started using it in their designs.
Here, we will see how to programmatically add the Fab button in your iOS, iPadOS, and macOS app on any view, including UICollectionView or UITableView.
Step 01: First, declare the UIButton variable in your View Controller
I had been planning for a long time but never implemented Google Analytics for my Apple iOS Apps to get accurate data about my app usage. I thought it was more work to implement analytics in the app with a framework using cocoa-pods, which would, in a way, slow down my app performance.
But with the news that Apple is taking privacy and data collection seriously, with online ads for Safari Browser on Mac and system-wide privacy settings on Apple iOS 14 for iPhone, I am happy that I never implemented a third-party analytics framework or added an ad network to generate revenue from my apps. My apps are already paid, and I don’t want to mess up user experience with impromptu in-app advertisements.
Introduction to StoreKit and Apple App Store policies
I will write down a few concepts & ideas to help you understand how to implement StoreKit app review functionality in your app using Xcode.
Important Points to Remember
You can ask your users to rate your app on a scale of 1 to 5 stars. Users can also choose to write reviews for iOS and macOS apps.
Developers can view, sort and respond to reviews in iTunes Connect.
About Summery of Ratings
Every App Store app has one summary rating on the product page, specific to each territory on the App Store.
The developer can reset your app’s summary rating by releasing a new version of the app.
The right way to ask for Ratings and Reviews
The developer can ask users to rate and review your app when they are most likely to feel satisfied, such as when they have completed an action, level, or task.
This will give users an easy way to provide feedback on the App Store without leaving your app.
The developer can prompt for rating a maximum of three times in 365 days.
Users will submit a rating through the standardised prompt.
Presenting the Review Prompt
Although you should call this method when it makes sense in the user experience flow of your app, the actual display of a rating/review request view is governed by App Store policy. In addition, because this method may or may not present an alert, it’s not appropriate to call it in response to a button tap or other user action.
When you call this method in development mode, the review request view is always displayed so that you can test your app on your device. However, this method will not be called when distributing your app using TestFlight.
When you call this method in your App Store-published app, a review request view will be presented, and the operating system will handle the entire presentation process.
Nowadays, every other person we meet on the street has a smartphone, tablet, or phablet, and we all have laptops in our bags and desktop computers at home and in the office.
So, data security between devices is a big issue now.
Let’s see: For Apple Products users in the Apple iOS and OSX ecosystem, everyone has an iMac or Mac Pro, iPhone or iPod touch, and iPad. So, using modern technologies like iCloud is the primary key to handling data between these devices.
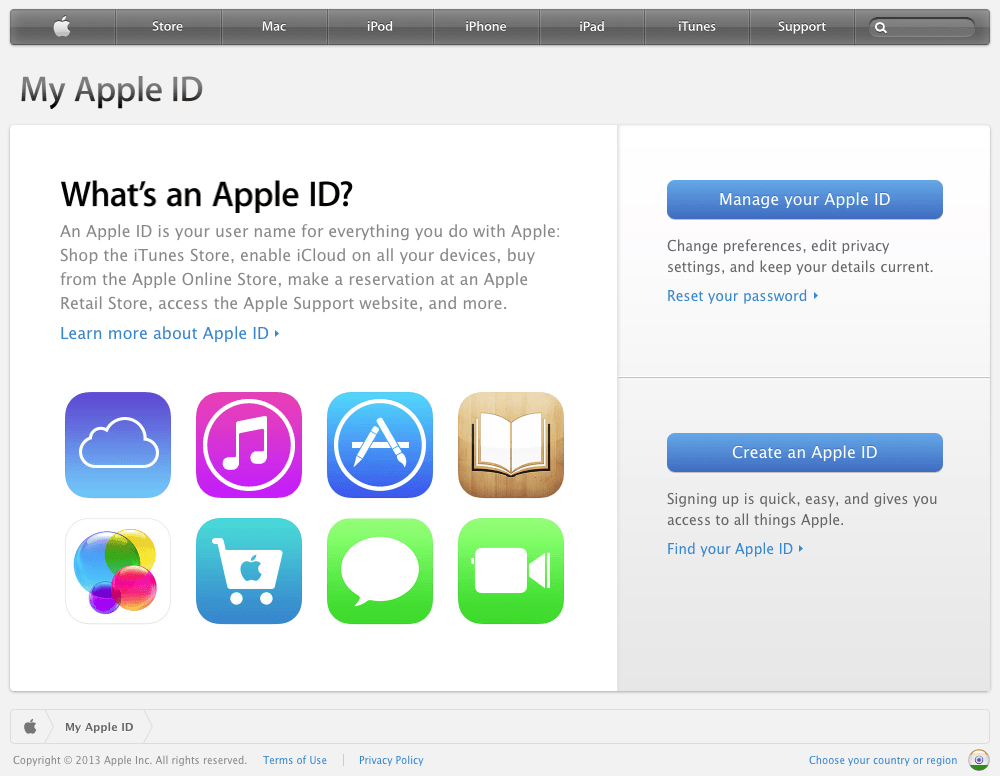
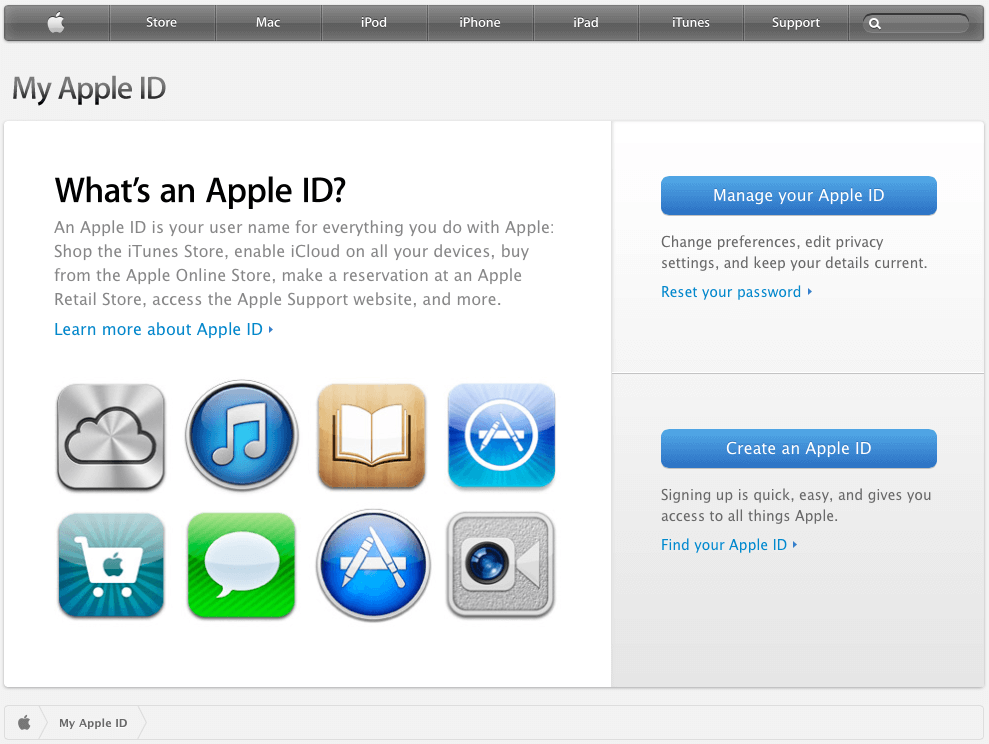
So, I will note down a few points that will help you manage your Apple ID to secure your devices and data, such as contacts, iWork Data files, Keychain passwords and access, iCloud Data, Photos, Notes, Safari Bookmarks, and even features like Back to my Mac, Find my Mac, and WiFi iOS over-the-air backups.
It is a general assumption that you can’t delete your Apple ID.
Even if you send support or help requests to the Apple Support team, they will say that…
But here is a way out of this goof-up.
First step is to gather all required information to varify your account in one place..
First is Your ‘Username’ Note it down
Second is Your ‘Security Question’s Answer’ Note it down, too…
The third is to be ready to log in with your account
Under the Security tab, you have the ‘Generate Pin’ tab. You will need to click this tab to generate a pin to share with your Apple iTunes Support Team expert, which will help him access your account and confirm your identity.
To provide the best experiences, we use technologies like cookies to store and/or access device information. Consenting to these technologies will allow us to process data such as browsing behavior or unique IDs on this site. Not consenting or withdrawing consent, may adversely affect certain features and functions.
Functional
Always active
The technical storage or access is strictly necessary for the legitimate purpose of enabling the use of a specific service explicitly requested by the subscriber or user, or for the sole purpose of carrying out the transmission of a communication over an electronic communications network.
Preferences
The technical storage or access is necessary for the legitimate purpose of storing preferences that are not requested by the subscriber or user.
Statistics
The technical storage or access that is used exclusively for statistical purposes.The technical storage or access that is used exclusively for anonymous statistical purposes. Without a subpoena, voluntary compliance on the part of your Internet Service Provider, or additional records from a third party, information stored or retrieved for this purpose alone cannot usually be used to identify you.
Marketing
The technical storage or access is required to create user profiles to send advertising, or to track the user on a website or across several websites for similar marketing purposes.